Automated Templates enable you to generate documents in bulk, and instantly share them with others.
How to use an Automated Template with Excel
- Open an Automated Template.
- Select an automated template you would like to use from your Documents page, or create a new one. To learn how to create an automated template, click here.
- Download the Excel file.
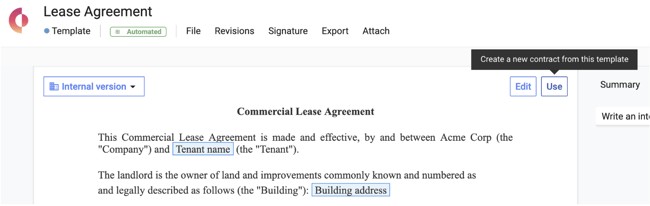
If you're ready to Use the template today:
- Click Use at the top right-hand corner of the document.
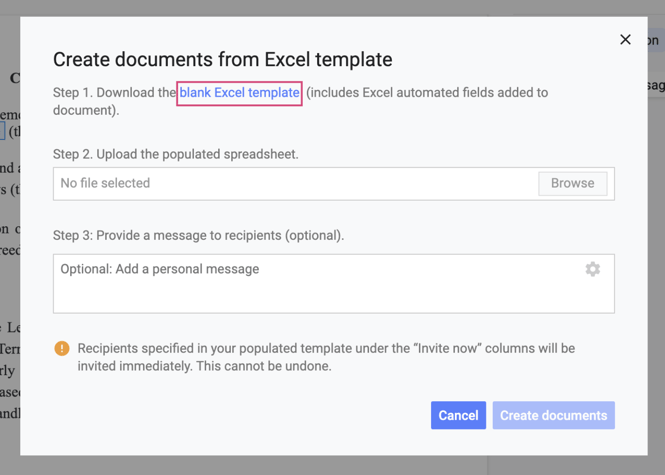
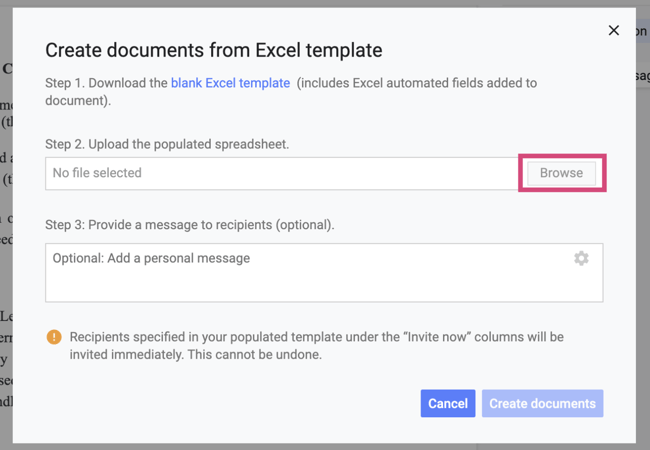
- In the pop-up, click the blue link to download the blank Excel template.
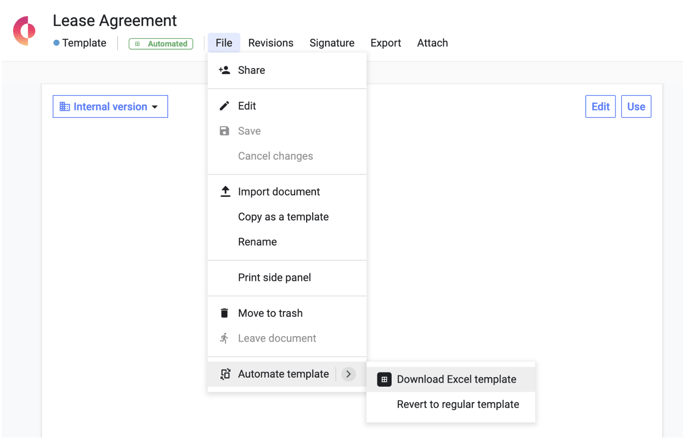
If you're not ready to use the template today but you'd like to download and fill the Excel file ahead of time:
- Click File in the top toolbar.
- Click the arrow beside the Automated template.
- Click Download Excel template.
How to fill in your Excel File
- Open your template file in Excel, and fill out the columns accordingly (your automated fields will be the columns in blue at the far right of the template).
- Each row represents a separate contract.
- To include several email addresses or tags for the same contract, separate them using a comma (not a semicolon) in the corresponding columns.
- Do not enter parties' email addresses as hyperlinks.
- Do not change column titles in the Excel Template. Changing column titles will prevent Concord from reading the template when you re-upload it.
Save your Excel file
- Click File, then Save as: add a title and Save as a .xlsx file.
Import your Excel file
- Navigate to your Concord Automated Template. If you haven't opened the Automated Template pop-up modal yet or closed it by mistake, click Start Draft.
-
From the Automated Template pop-up, click Browse and locate your saved Excel file.
-
Select the file from your device's files list, and click Open.
Create and send your documents
- Enter a message you'd like all your guests to receive (optional).
- Click the blue Create Documents documents button.
- The documents will populate on your Documents page in the Review stage.
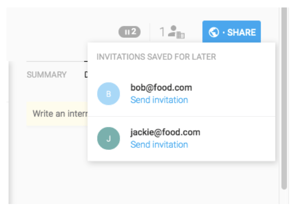
- If you entered a party's email in the Save for the last column, you could send their invitation by hovering over the pause (") icon next to the SHARE button.