Custom Branding enables you to add your company name and logo to document invitation emails, personalize your email domain, and disable Concord branding for third parties. This can help keep invitation emails from ending up in spam.
How to enable Custom Branding
- From your Document Inbox, click the ⚙ icon at the bottom left-hand corner.
- From the menu, select Settings.
- You will be taken to the Personal information page.
- Under Company, click Preferences.
- Scroll down to the Custom Branding section and click the Settings button.

- From the Custom Branding page, you can see if the feature is Active or Inactive.
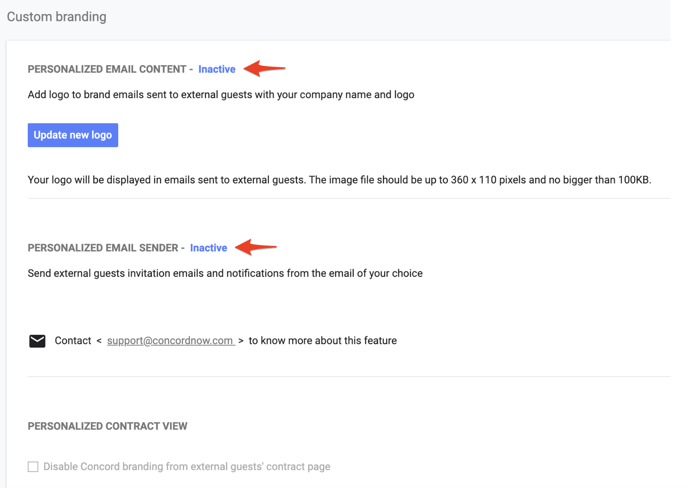
How to personalize email content
With this feature, all emails sent to third parties will be branded with the logo of your choice, and your company name will appear in the email instead of Concord.
- Go to Custom Branding settings (in Company Preferences).
- Select Update New Logo.
- Add your logo.
- Click Save.
How to activate a personalized email sender
You can personalize emails so they are sent from your servers with the email of your choice. To activate a personalized email sender:
- Email support at support@concordnow.com with the email address you would like applied as your personalized email sender.
- Have your technical team set up DKIM and SPF records for the Concord IP address 198.2.180.60
*The Custom Branding feature is available with some of our paid plans.

Please Note: The custom email sender will come from the email domain of your choice for Third-party invitations only.
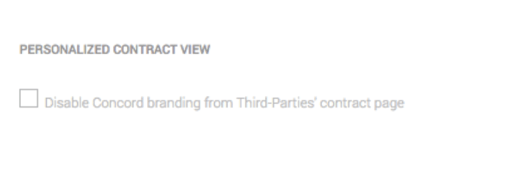
How to activate the personalized contract view
- When this feature is activated, your third-party view on a contract will not include any Concord branding from the document page and the signed PDF.
- To activate, check the Disable Concord branding checkbox on the Custom branding page.