How to configure Signers
- From the Signature menu item at the top of the screen, select Configure Signers, or open the Configure Signers section in the right-hand panel.
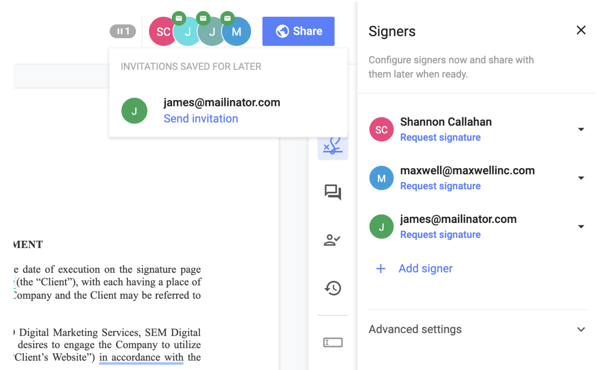
- Identify your Signers by typing the email address of the person you'd like to be assigned to the document.
Note: If the newly added Signer has not been invited to the document, you'll see an icon at the top left of the screen where you can choose to invite now or invite later.
-
- Anyone: Anyone invited to the document with signing permissions can sign the document.
- Internal: Any internal user invited to the document with signing permissions can sign the document.
- External: Any external user invited to the document with signing permissions can sign the document.
How to add a Signature Field to your document
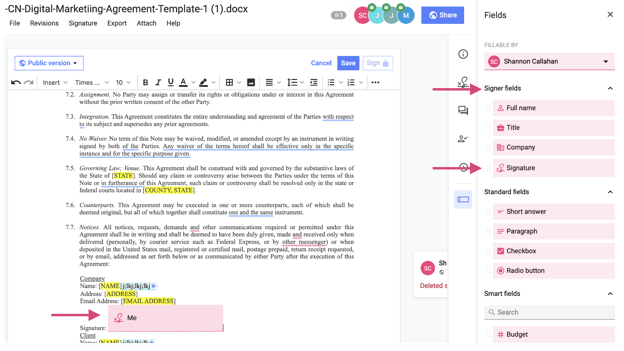
- In edit mode, open the Fields panel.
- Select the assignee.
- Drag and drop the signature field into the desired location on the document.
Note: The Signature Field is mandatory. You will not be able to request signatures without this field in the document for every signatory. There are also other signature fields available for use that are commonly associated with e-signature, including name, title, and company.
How to turn on the Preset Signature Block
Alternately, you can use a Preset Signature Block. By default, the preset signature toggle switch is turned off.
- Activate the preset signature block from your advanced settings in the signer panel or at the bottom of the page
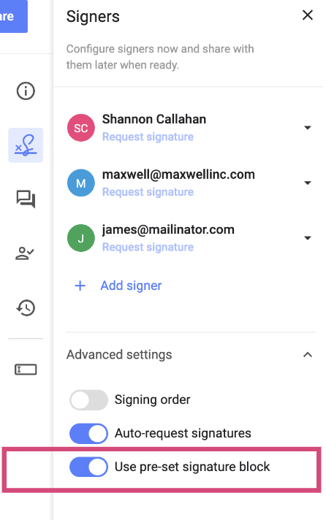
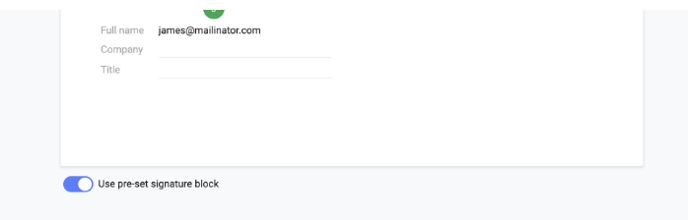
- By using the preset Signature block, signature fields will not be mandatory but will still be available if you choose to use them in your document. When a signatory signs the document, their signature will appear at the bottom of the page.