To create documents from Salesforce, you need to first create a Salesforce automated template in Concord.
Creating a Salesforce automated template
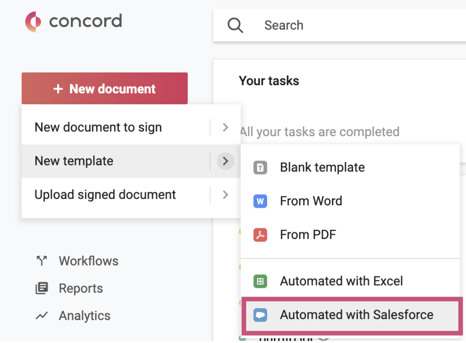
- From Home, click + New Document button in the sidebar
- Click the > arrow beside New template
- Select Automated with Salesforce
- Write a template from scratch or import a Word file
- Note: Templates cannot be PDF/Word mode documents.
- Enter a title
- Click Save
Converting a standard template to an automated template
If you already have a template that you would like to use as a Salesforce automated template, you can change it to an automated template.
- Open the template to be converted
- Open the File menu
- Select Automate template
- In the 'Select an automated template type' pop-up, choose the Salesforce option.
For more information on automating with Excel, visit here.
- The automated template will be available in the Templates tab to the left of the home page.
Adding Salesforce fields
Once you have created your Salesforce automated template, you can insert Salesforce fields. Salesforce fields are synchronized with the fields configured in your Salesforce account that is integrated with your Concord account. Inserted Salesforce fields will be populated automatically when you generate a document in Salesforce from the automated template.
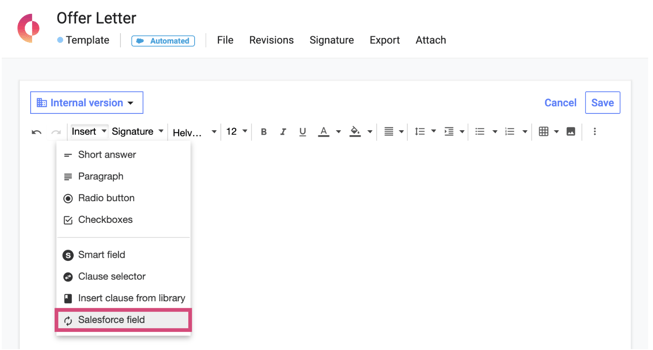
- Click Edit
- Place your cursor where you would like the field to be inserted
- Open the Insert menu in the editing toolbar
- Select Salesforce field
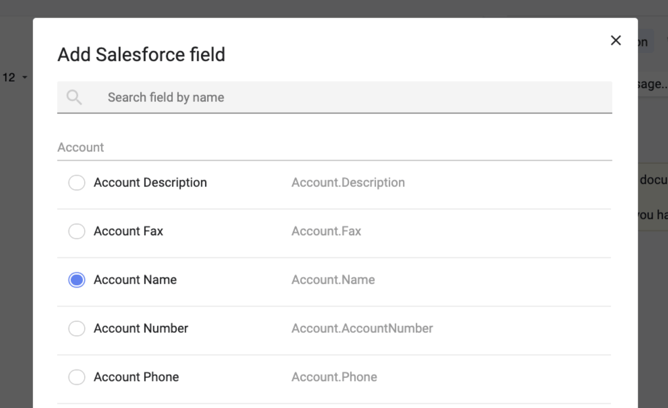
- Select the field you would like to insert
- Click Add
- Once you have created the Salesforce automated template in Concord and inserted one or more Salesforce fields into the document, the automated template will be immediately available for use from your Salesforce Opportunities.